Table Of Contents

Working in Microsoft Purview, I recently came across a bug. After creating Sensitivity Labels via the UI, the order (priority) of the labels was entirely off. No matter what I did, I couldn’t fix the order via the UI, so I resorted to PowerShell instead.

What is label priority?
Every sensitivity label has a priority number; the least prioritized label has a 0, and the most prioritized has the highest number. Another way of thinking about this is that higher-priority labels mark an organization’s most confidential and vital information.
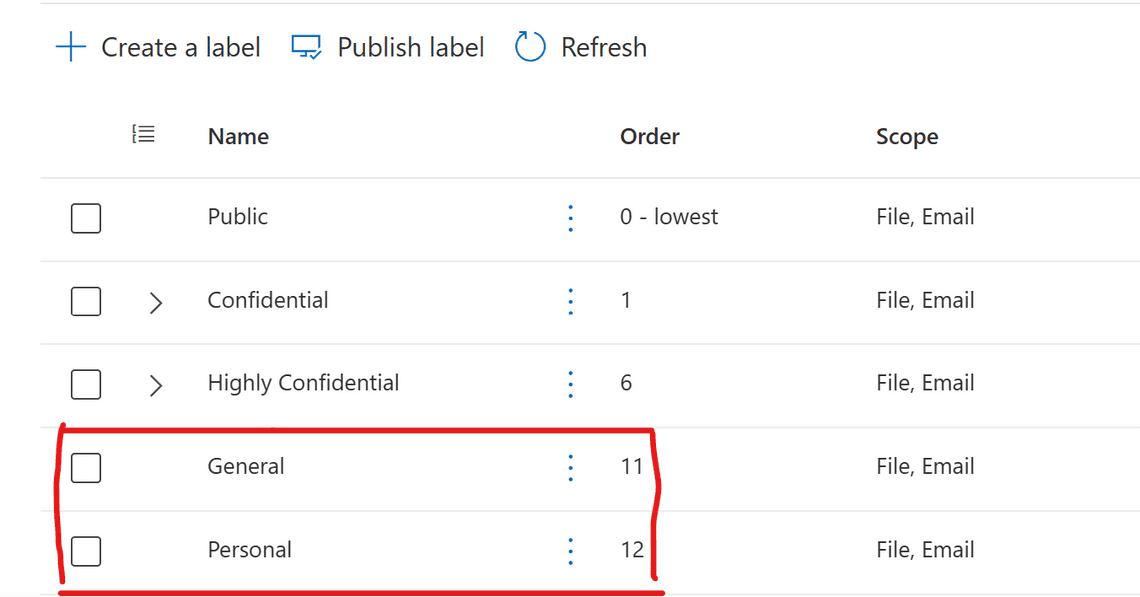
Looking at the image, we can see that the labels General and Personal have the “wrong” priority; they are considered as most confidential.
Prerequisites
You first need to run the following commands in PowerShell to install and import the Exchange Online PS Module:
Install-Module ExchangeOnlineManagementImport-Module ExchangeOnlineManagement
This example connects to Security & Compliance Center PowerShell in a Microsoft 365 organization:
Connect-IPPSSession
Getting an existing Sensitivity Label
Get-Label returns a summary list of all sensitivity labels in the organization. We can see basic information such as priority.
We could also get detailed information for a specific sensitivity label like this:
Get-Label -Identity General | Format-List
Updating a Sensitivity Label
To update a label, use the Set-Label command with the Identity parameter that specifies the sensitivity label you want to modify. You can use any value to uniquely identify the label (Name, GUID, etc.).
The Priority parameter specifies the order of label processing based on a priority value assigned to each sensitivity label. Remember, a higher integer value indicates a higher priority.
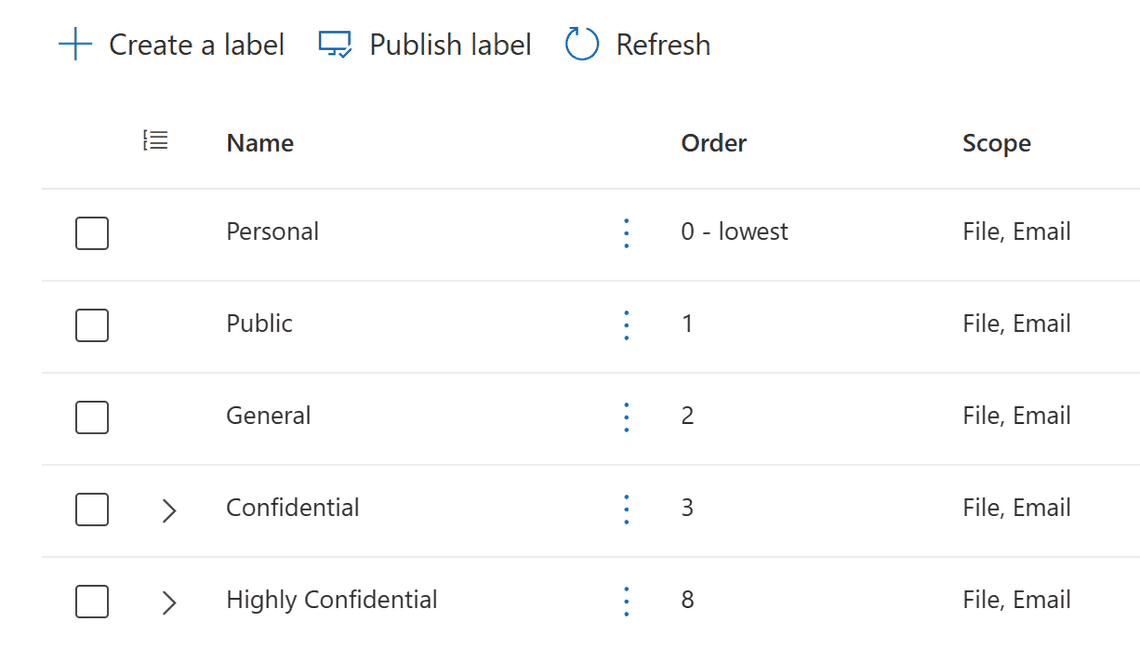
Set-Label -Identity Personal -Priority 0Set-Label -Identity General -Priority 2

Finishing up
PowerShell is a robust tool for the IT Administrator, and obviously, we have even more options for using it. So, in the future, we will look at using PowerShell more to script the most monotonous and repetitive operations.
Thank you for reading
/Simon


